The Ultimate Guide to Replanting Your Monstera
Replanting a Monstera plant is essential for its growth and health. Here's a step-by-step guide on how to successfully replant your Monstera and ensure it thrives in its new pot.
By Tobias Holm
Are you a proud owner of a Monstera plant and looking to replant it?
Whether you're a seasoned plant lover or just starting your green journey, this ultimate guide is here to help you successfully replant your Monstera. Known for its stunning foliage and unique aerial roots, the Monstera is a popular choice among plant enthusiasts. However, replanting this beauty requires careful consideration and expert guidance.
In this comprehensive guide, we will provide you with invaluable tips, tricks, and expert advice on how to replant your Monstera and ensure its continued growth and health. From understanding the right soil mix and pot size to mastering the art of repotting, we've got you covered.
So, get ready to embark on a journey of plant care as we unveil the secrets to successfully replanting your Monstera and watching it flourish in its new home.
Understanding when to replant your Monstera
Replanting your Monstera at the right time is crucial for its overall health and growth. Timing is everything, and you want to ensure that you choose the ideal moment to give your plant a fresh start.
Generally, Monstera plants should be replanted every two to three years or when they outgrow their current pot. Signs that your Monstera may need replanting include roots poking out of the drainage holes, stunted growth, or the plant becoming top-heavy. These indicators suggest that the plant has outgrown its current container and requires more space for its roots to expand.
When considering the timing for replanting, it's best to wait until the plant's growth has slowed down or during the spring season. This gives the Monstera time to acclimate to its new environment and reduces the risk of transplant shock.
Remember that every Monstera is unique, so pay attention to the specific needs of your plant when deciding on the appropriate time for replanting. By understanding when to replant your Monstera, you set the foundation for successful and healthy growth.
Choosing the right pot and soil for replanting
Selecting the right pot and soil is crucial for the well-being of your Monstera after replanting. The pot should provide ample space for the plant's roots to grow, while the soil should offer optimal drainage and nutrition.
Let's explore the key considerations for choosing the ideal pot and soil for your Monstera.
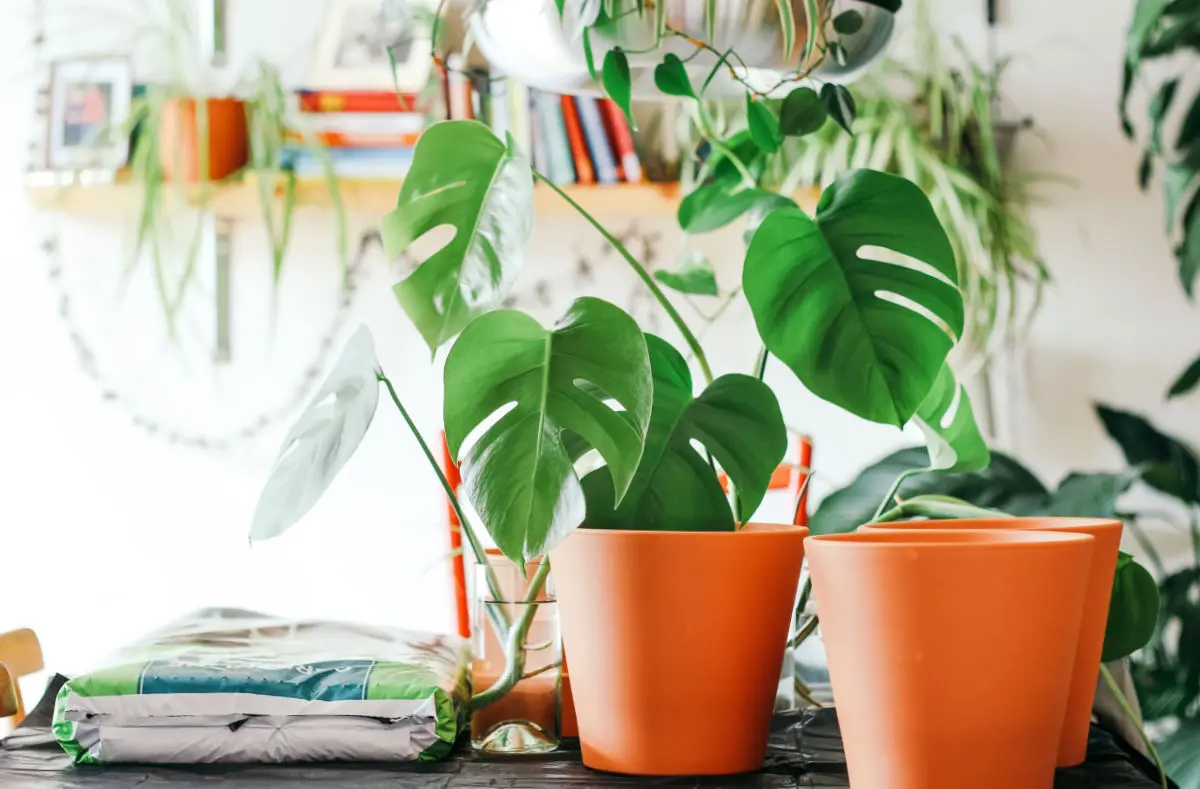
- Pot selection: When selecting a pot for your Monstera, aim for one that is slightly larger than its current container. This allows room for the roots to grow without overwhelming the plant. Look for pots with drainage holes to prevent waterlogging, as excessive moisture can lead to root rot. Additionally, consider using a pot with a saucer or tray to catch excess water and prevent damage to your furniture or floor.
- Soil mix: Monstera plants thrive in well-draining soil that retains moisture without becoming waterlogged. A suitable soil mix for replanting your Monstera can be a combination of peat moss, perlite, and orchid bark. This blend provides a balanced mix of water retention and aeration, ensuring that the roots have access to both moisture and oxygen. Avoid using heavy soils that can hold too much water, as this can lead to root rot and other issues.
By carefully selecting the right pot and soil for your Monstera, you create an optimal environment for its roots to grow and flourish. Remember, the health of your plant starts with its foundation.
Preparing your Monstera for replanting
Before diving into the replanting process, it's essential to prepare your Monstera adequately. This step ensures that your plant is in good condition and ready for its new home.
- Inspecting the roots: Carefully remove your Monstera from its current pot and gently inspect the roots. Look for any signs of root rot, such as dark or mushy roots. If you notice any issues, trim away the affected roots using clean and sharp gardening shears. This helps promote healthy root growth and prevents the spread of diseases.
- Trimming the foliage: If your Monstera has excessive foliage, consider trimming some of the leaves. This reduces stress on the plant during the replanting process and allows it to focus its energy on root development. Be sure to use clean and sharp pruning shears to avoid damaging the leaves or introducing infections.
- Watering: It's essential to water your Monstera a day or two before replanting. Moist soil makes it easier to remove the plant from its current pot without causing damage to the roots. However, avoid overwatering, as soggy soil can hinder the replanting process and increase the risk of root rot.
Taking the time to prepare your Monstera for replanting sets the stage for a smooth transition and ensures that your plant is in the best possible condition for its new home.
A step-by-step guide to replanting your Monstera
Now that you have prepared your Monstera for replanting, let's dive into the step-by-step process of actually repotting your plant. Follow these instructions carefully to ensure a successful transition for your Monstera.
- Choose a pot that is slightly larger than the current one, with drainage holes at the bottom. Place a layer of small stones or broken pottery at the bottom of the pot to promote drainage.
- Prepare the soil mix by combining peat moss, perlite, and orchid bark in equal parts. Thoroughly mix the ingredients to ensure a well-balanced soil mix.
- Gently remove your Monstera from its current pot, taking care not to damage the roots. You can tap the sides of the pot or use a gardening tool to loosen the soil if necessary.
- Inspect the roots once again, trimming any damaged or rotten roots as needed. This step ensures that your Monstera starts fresh with healthy roots.
- Place a layer of the prepared soil mix at the bottom of the new pot. Create a mound in the center to support the plant's root ball.
- Carefully position your Monstera in the new pot, ensuring that it sits at the same depth as before. Fill in the gaps with the remaining soil mix, gently pressing it down to secure the plant.
- Water the newly replanted Monstera thoroughly, allowing the water to drain out of the bottom of the pot. This helps settle the soil and eliminates air pockets around the roots.
- Place your Monstera in a well-lit area, away from direct sunlight. Monitor the moisture levels of the soil and water accordingly, ensuring that it remains slightly damp but not waterlogged.
By following these step-by-step instructions, you can successfully replant your Monstera and provide it with the ideal environment for healthy growth.
Watering and caring for your newly replanted Monstera
After replanting your Monstera, proper watering and care are essential for its continued growth and well-being. Here are some guidelines to ensure your newly replanted Monstera thrives in its new home.
- Watering: Monstera plants prefer slightly moist soil, but overwatering can be detrimental. Allow the top inch of soil to dry out before watering again. Deep watering until the excess water drains out of the pot's drainage holes is preferable to frequent shallow watering.
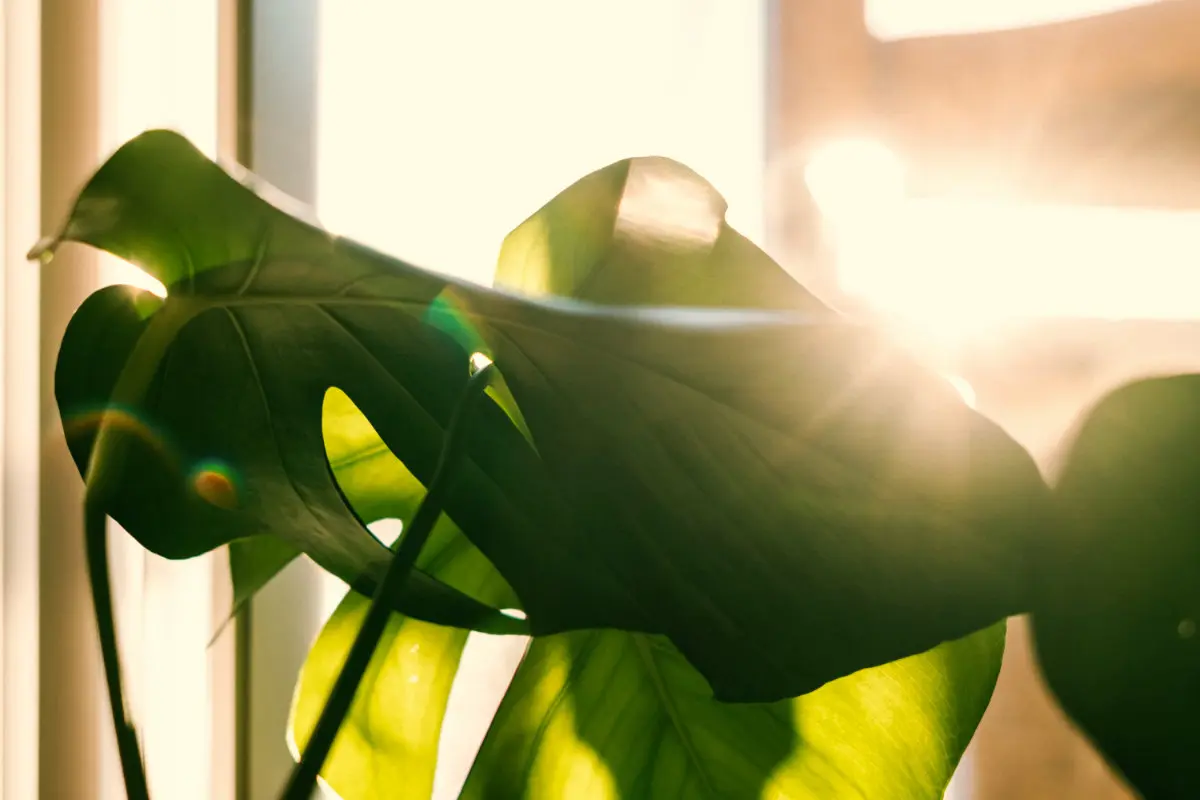
- Lighting: Monstera plants thrive in bright, indirect light. Place your newly replanted Monstera in a well-lit area, ensuring that it receives adequate light without being exposed to direct sunlight. Rotate the pot occasionally to promote even growth and prevent the plant from leaning toward the light source.
- Humidity: Monstera plants appreciate high humidity levels. Consider placing a tray of water near your plant or using a humidifier to increase the moisture in the air. Misting the leaves occasionally can also provide some humidity, but avoid misting excessively to prevent fungal diseases.
- Fertilization: During the growing season, which typically occurs from spring to summer, feed your Monstera with a balanced liquid fertilizer every two to four weeks. Follow the instructions on the fertilizer package for the correct dilution and application method.
By providing proper watering, lighting, humidity, and fertilization, you can ensure that your newly replanted Monstera thrives and continues to grace your space with its stunning foliage.
Common mistakes to avoid when replanting your Monstera
While replanting your Monstera can be an exciting endeavor, it's essential to be aware of common mistakes that can hinder its growth. By avoiding these pitfalls, you can ensure a successful replanting experience for your Monstera.
- Using the wrong pot size: Opting for a pot that is too large can lead to overwatering and stagnant soil, while a pot that is too small restricts root growth. Choose a pot that allows for proper drainage and offers enough space for the Monstera's roots to grow comfortably.
- Using heavy or compacted soil: Heavy soils that retain too much water can lead to root rot, while compacted soil restricts oxygen flow to the roots. Use a well-draining soil mix that promotes aeration and allows excess water to escape.
- Overwatering: Monstera plants are susceptible to root rot caused by overwatering. Only water when the top inch of soil is dry, and ensure that the pot has proper drainage to prevent water from pooling at the bottom.
- Neglecting to trim the roots and foliage: Neglecting to trim damaged or excess roots and foliage before replanting can result in a stressed and less healthy Monstera. Take the time to carefully inspect and trim as necessary to promote optimal growth.
- Placing the Monstera in direct sunlight: While Monstera plants enjoy bright light, direct sunlight can scorch their leaves. Find a well-lit spot away from direct sunlight to ensure the health and longevity of your plant.
By avoiding these common mistakes, you can provide your Monstera with the best possible conditions for growth and ensure its long-term health.
Troubleshooting common issues after replanting
Even with the best intentions and care, issues can arise after replanting your Monstera. Here are some common problems and their solutions to help you troubleshoot and address any issues that may occur.
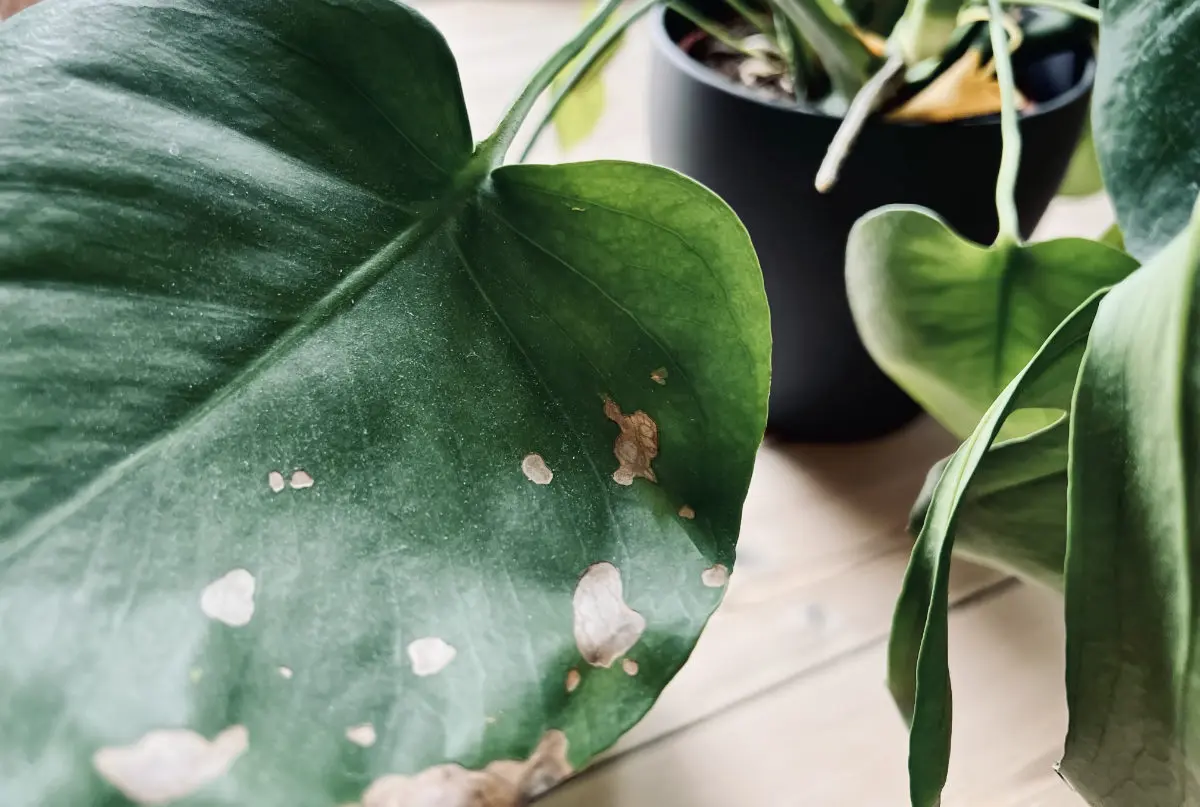
- Yellowing leaves: Yellow leaves can indicate overwatering or root rot. Check the soil moisture levels and adjust your watering accordingly. If root rot is suspected, carefully remove the plant from the pot, trim any affected roots, and replant in fresh, well-draining soil.
- Wilting leaves: Wilting leaves can be a sign of underwatering or insufficient humidity. Ensure that you are watering your Monstera adequately, and consider increasing humidity levels by placing a tray of water nearby or using a humidifier.
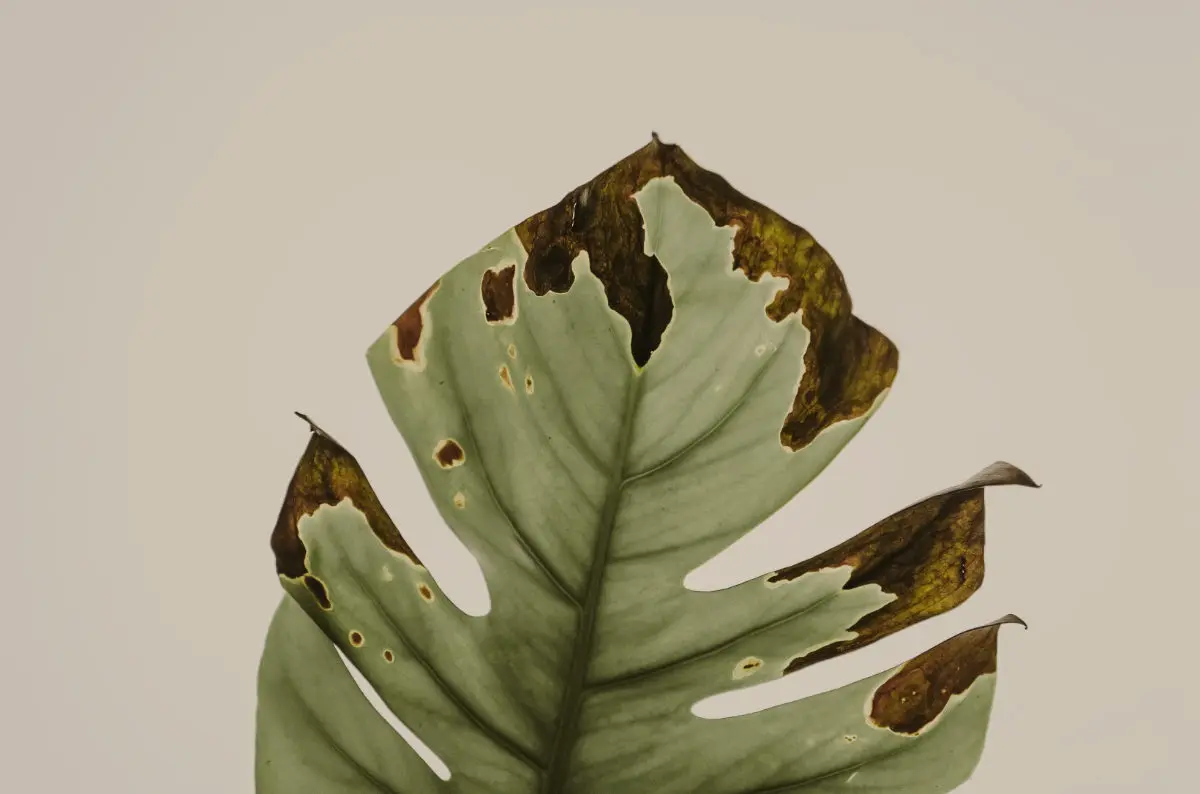
- Brown leaf tips: Brown leaf tips can result from underwatering, over-fertilization, or low humidity. Adjust your watering schedule, avoid over-fertilizing, and increase humidity levels to prevent further browning.
- Stunted growth: Stunted growth can occur if your Monstera is not receiving enough light or nutrients. Ensure that your plant is placed in a well-lit area, and consider fertilizing with a balanced liquid fertilizer during the growing season.
- Pests: Common pests that can affect Monstera plants include spider mites, mealybugs, and aphids. Regularly inspect your plant for signs of pests and treat them promptly using organic insecticidal soap or other appropriate pest control methods.
By identifying and addressing common issues promptly, you can ensure the long-term health and vitality of your replanted Monstera.

Expert tips and advice for successful Monstera replanting
To further enhance your Monstera replanting journey, here are some expert tips and advice to consider:
- Monitor temperature: Monstera plants thrive in temperatures between 65-85°F (18-29°C). Avoid exposing them to extreme cold or hot conditions to prevent stress on the plant.
- Support for aerial roots: Monstera plants develop aerial roots, which can be trained to climb or provided with support using a moss pole or trellis. This mimics their natural growth pattern and promotes healthy development.
- Prune selectively: Regular pruning helps maintain the shape and size of your Monstera. Focus on removing dead, damaged, or excessive foliage to ensure optimal growth.
- Consider repotting in stages: If your Monstera has outgrown its current pot, but you don't want to replant it in a significantly larger one, consider repotting in stages. Gradually increase the pot size over time to allow the plant to adjust and prevent shock.
- Observe and adjust: Every Monstera is unique, so observe your plant's growth and adjust your care routine accordingly. Pay attention to its watering needs, light preferences, and overall health indicators.
By incorporating these expert tips into your Monstera replanting journey, you can elevate your plant care skills and ensure the best possible outcomes for your Monstera.
Conclusion: Enjoy your thriving Monstera
Congratulations on successfully replanting your Monstera!
By following the tips, tricks, and expert advice provided in this ultimate guide, you have set the stage for your Monstera to thrive in its new home.
Remember to continue monitoring your plant's needs, adjusting your care routine as necessary, and enjoying the beauty and vitality that your Monstera brings to your space.
Happy plant parenting!


